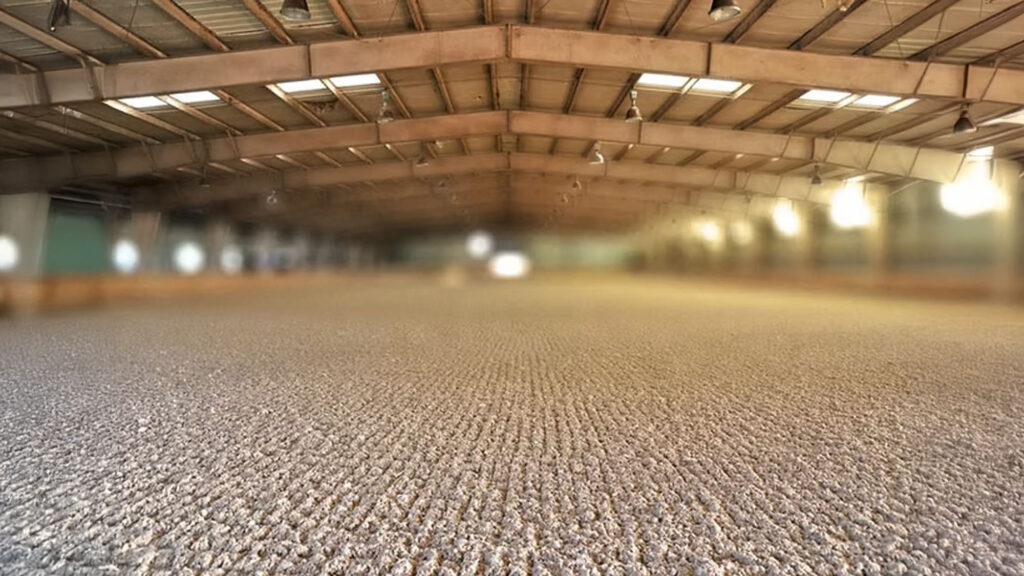
Horse arena safety starts with the surface beneath the horse. Even small footing issues can create hazards that affect performance, balance, and rider confidence. Regular arena safety audits help identify problems before they become serious, ensuring a safer environment for both horses and riders.
A systematic inspection routine can catch early signs of unevenness, compaction, drainage failure, or material breakdown. For private facilities, training barns, and competition venues alike, knowing how to audit your equestrian surface helps maintain consistent performance and reduce risk.
Footing hazards don’t always appear suddenly. Compaction, moisture imbalance, material separation, and base instability can develop gradually, creating uneven or unpredictable surfaces. Horses may slip, trip, or change their movement to compensate for poor footing, increasing strain on joints and soft tissue.
Regular audits catch these issues early, before they affect training or cause injury. They also help facility managers prioritize maintenance, plan upgrades, and ensure the arena meets safety standards for lessons, competitions, or daily use.
Start with a thorough walk-through of the entire surface. Look for obvious visual cues that indicate potential problems:
Mark problem areas with cones or flags. Note traffic patterns where horses repeatedly work the same sections, creating wear paths or uneven compaction.
Use a footing probe or wooden dowel to measure depth across the arena. Ideal footing depth varies by discipline (3-6 inches typically), but consistency matters most. Significant variation (>1 inch) indicates material migration or base problems.
Walk the probe pattern systematically:
Record measurements to track changes over time. Consistent shallow spots may need top-dressing; deep areas may indicate base settlement.
Grab a handful of footing from several locations. Healthy footing should:
Test compaction by pressing firmly with your heel. Hard-packed areas won’t yield; loose spots sink deeply. Both extremes create uneven ride quality and potential slip hazards.
Use a 4-8 foot level to check for subtle slopes or depressions, especially along rails and in corners. Even 1-2° variations affect drainage and create uneven footing. Horses naturally avoid low spots, creating compensatory movement patterns.
Check for “dishpan” effect in high-traffic centers where repeated circling compacts the middle while material migrates outward. This creates a bowl shape that holds water and affects rideability.
Look for gravel, dirt, or stone showing through the footing surface. Exposed base indicates:
Base exposure creates hard spots that jar joints and increase slip risk. Mark these areas for immediate top-dressing and long-term depth correction.
Perform the simple “shoe slide test”:
Excessive sticking indicates over-compaction; sliding suggests insufficient traction or excess moisture. Both affect horse confidence and movement.
After rain or irrigation, observe water movement:
Poor drainage creates soft, sticky footing that hides slip hazards and breeds bacteria in organic material.
Inspect your arena drag for:
Poor equipment performance amplifies surface problems. A drag that’s too aggressive scatters material; one that’s too light leaves compaction untouched.
DIY audits catch surface-level issues, but deeper problems need expert evaluation:
Professional footing contractors use laser leveling, soil testing, and material analysis to diagnose systemic problems your visual audit might miss.
Quick 15-minute walk-through:
Quarterly deep audit:
Consistent arena safety audits protect horses, build rider confidence, and extend footing life. What starts as 15 minutes monthly can prevent injuries, reduce vet bills, and avoid costly full renovations. A safe arena isn’t a luxury—it’s essential infrastructure.